DI Guitar Recording With Pedals: Tips, Tricks, and Reamping Techniques

DI Guitar Recording

DI guitar recording has become one of the most efficient ways to achieve professional, studio-quality tones without relying on expensive amps or complicated microphone setups. With just an audio interface, a DAW, and a few cables, you can now capture guitar sounds that were once only achievable in high-end recording studios.

DI guitar recording opens up incredible creative possibilities. Not only can you combine pedals and plugins to craft unique tones, but you can also completely reshape your guitar sound after the recording session, using reamping, amp simulations, or post-processing. However, achieving a clean, dynamic, and professional DI guitar track requires some technical knowledge and attention to detail. This guide dives deep into the essentials, from pedal placement to reamping techniques, ensuring your DI recordings sound polished and versatile.

Why Record Guitar DI?

Gone are the days when you needed a tube amp mic’ed perfectly to get a good tone. While some players still swear by the warmth and expressiveness of analog gear, DI recording offers unmatched flexibility and cost-efficiency for modern music production.

Advantages of DI Recording:

  • Versatility: A clean DI signal allows you to experiment with different amp simulations, plugins, and effects at any stage of the production process.
  • Cost-Effectiveness: No need for multiple high-end amps or microphones—your interface does most of the heavy lifting.
  • Recording Anywhere: Whether you’re at home, in a rehearsal room, or on tour, DI recording requires minimal setup and space.
  • Easy Editing and Reamping: You can reamp the same DI track through different amps and effects multiple times, giving you unmatched creative control.

For genres like rock, metal, pop, blues, and experimental electronic music, DI recording has become a staple in professional workflows, helping producers and musicians craft polished, modern guitar tones.

Using Pedals in DI Guitar Recording

Many guitarists ask: “Can I use pedals when recording DI?” Absolutely. Pedals can add warmth, texture, and dynamics to your DI signal, bridging the gap between analog character and digital flexibility.

Dirt Pedals (Overdrive, Distortion, Fuzz)

Dirt pedals are among the most effective tools for DI guitar recording. They add harmonic richness and dynamic response, making your guitar feel alive even without an amp.

Placement Tips:

  • Place them directly in front of your interface input.
  • Adjust pedal output levels to match your interface’s input gain.
  • Experiment with multiple dirt pedals in series for layered distortion textures.

Examples:

  • Tube Screamer-style overdrive pedals are great for blues, rock, and pop tones.
  • High-gain distortion pedals work well for metal or heavier rock styles.
  • Fuzz pedals give a retro or experimental edge for indie and psychedelic music.

Modulation and Time-Based Effects

Effects such as chorus, phaser, flanger, reverb, and delay work best when added after amp simulations. If your interface supports instrument outputs, you can route your DAW signal back through pedals and re-enter the interface for flexible post-processing.

Tips:

  • Layer delays or reverbs with different settings to produce complex ambient textures.
  • Use subtle settings to avoid muddying the DI signal.
  • Experiment with stereo effects to create wider, more immersive guitar sounds.

Maintaining Tone Integrity

Proper signal management is crucial for a professional DI guitar recording. Many guitarists overlook the importance of matching pedal output to interface input.

Key Practices:

  • Set pedal volume and gain so the DI signal peaks around -24dB to -18dB.
  • Avoid clipping the interface input to maintain headroom.
  • Use buffered pedals to stabilize your signal chain, especially when running multiple effects.
  • Check cable quality—cheap cables can degrade high-frequency response and introduce noise.

A clean DI signal is particularly important if you plan to reamp later, as it preserves tonal detail and dynamic range.

Power Supply Considerations

A high-quality power supply can make a huge difference in DI tone. Poor power can introduce hum, ground loops, and inconsistent behavior from pedals.

Options for Clean Power:

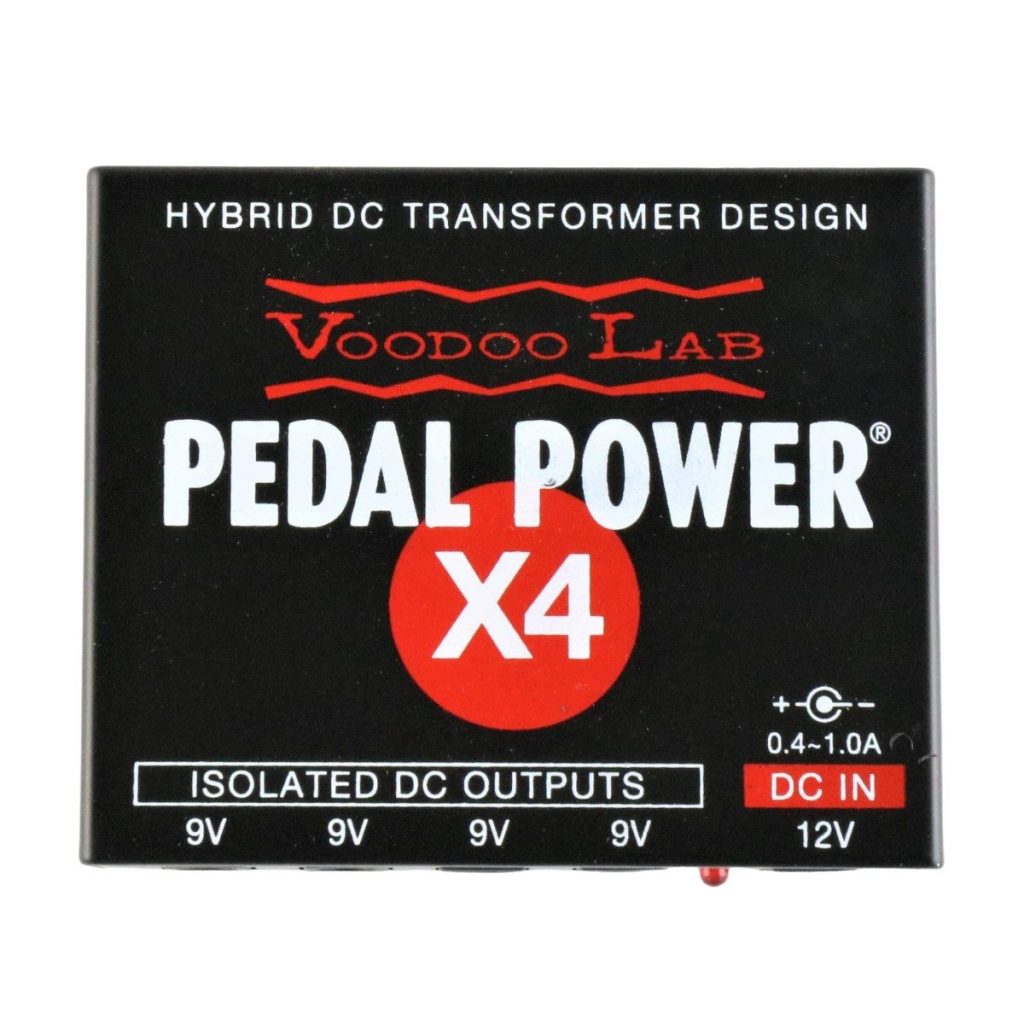
  1. Isolated Pedal Power Supplies: Devices like the Voodoo Lab Pedal Power X4 provide isolated outputs to prevent noise.
  2. Battery Power: Using a 9V battery for pedals can isolate them from electrical interference and reduce hum.

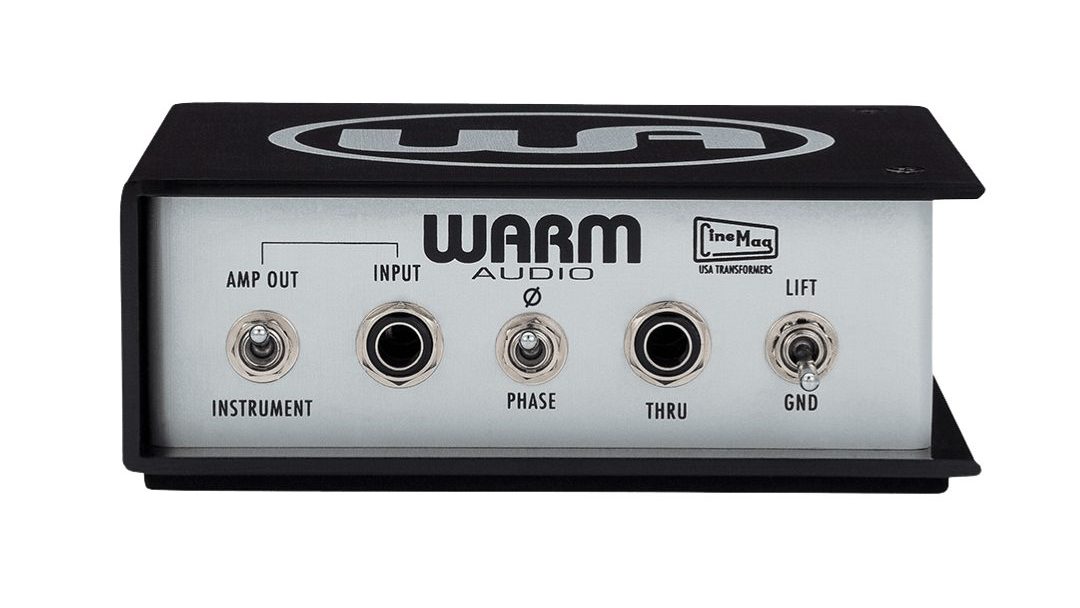
Pro Tip: Even with a high-quality supply, always test your signal chain for unwanted noise before recording. Minor grounding issues can easily be fixed with a DI box or ground lift switch.

DI Guitar Recording Tips and Techniques

Sample Rate, Bit Depth, and Buffer Size

Optimizing your DAW settings ensures your DI guitar recordings are clean, dynamic, and free from latency issues.

  • Buffer Size: Use low buffer settings (32–64 samples) during recording to reduce latency.
  • Sample Rate: 44.1kHz or 48kHz is sufficient for most productions; higher rates use more disk space without significant tonal benefit.
  • Bit Depth: 24-bit provides excellent dynamic range and headroom while keeping file sizes manageable.

Using a DI Box

While not always necessary, DI boxes provide benefits that enhance tone and flexibility.

Advantages:

  • Converts unbalanced signals to balanced for long cable runs.
  • Includes ground lift to eliminate hum.
  • Preserves clarity for reamping.

Popular Options:

  • Radial J48: Known for transparency and low noise.
  • Warm Audio WA-DI-A: Offers active circuitry for high-fidelity signal transfer.

Tips for Reamping With Pedals and Amps

Reamping allows you to take a clean DI guitar recording and experiment with amps, pedals, and signal chains after the session.

Reamping Workflow:

  1. Use a reamp box to convert line-level DI back to guitar-level.
  2. Start with neutral pedal and amp settings.
  3. Gradually dial in your desired tones, experimenting with overdrive, fuzz, modulation, and delay effects.
  4. Monitor levels carefully to avoid clipping.

Creative Techniques:

  • Split the DI track to feed multiple amps for layered tones.
  • Experiment with pedal order to discover unique sounds.
  • Try different amp simulations for blues, rock, metal, or experimental textures.

Advanced DI Guitar Recording Techniques

  1. Layered DI Tracks: Record multiple DI tracks with slight variations in pickup selection or playing dynamics. This gives a thicker, richer sound in the mix.
  2. Parallel Reamping: Send a single DI track to different amp chains simultaneously to blend tones in post.
  3. Hybrid DI/Mic Recording: Combine DI guitar recordings with mic’d amps for ultimate tonal flexibility. DI provides a clean baseline, while the mic captures natural amp resonance and room acoustics.
  4. Dynamic Pedal Automation: Record DI tracks with minimal pedal usage, then automate plugin effects or reamped pedal settings for expressive changes over time.

Frequently Asked Questions

1. DI vs. Miking an Amp:
DI gives a clean, uncolored signal, while miking captures amp tone and room acoustics. Combining both yields maximum tonal options.

2. Keeping DI Tracks from Sounding Thin:
Maintain proper levels, use buffers, and consider reamping through pedals or amps. Virtual amps and effects restore warmth and depth.

3. Reamping Through Multiple Amps:
Yes. A single DI track can feed multiple amps or pedal chains for a richer, layered tone.

4. Best Pedals for DI Guitar Recording:

  • Overdrive: Tube Screamer-style pedals for smooth grit.
  • Distortion: High-gain pedals for metal or rock.
  • Modulation: Chorus, phaser, flanger for texture.
  • Delay/Reverb: Used post-amp or in DAW for space and depth.

5. How to Capture Expressive Dynamics:
Record with pickup selection changes, varying picking strength, and using dirt pedals for natural dynamics. Reamping further enhances expression.

Conclusion

DI guitar recording is a powerful tool for modern musicians, combining flexibility, efficiency, and creative control. By carefully managing pedal placement, power supply, interface levels, and reamping techniques, you can create DI tracks that are dynamic, full-bodied, and studio-ready.

Experimentation is key—try unexpected pedal chains, multiple amps, and hybrid DI/mic setups. Often, the most inspiring tones come from creative experimentation rather than strict rules. Follow these tips, explore, and your DI guitar recordings will consistently deliver professional, expressive results.

Co-written by Ian Sniesko from DeathCloud, curating the finest guitar pedals for tone chasers and gear heads alike.

About The Author

Nick Braren is an audio engineer and musician with over 15 years experience in the studio, on stage, back stage and front of house. He is the owner and operator of Upaya Sound, guitarist and vocalist of Vandemonian, father of 2 and husband of 1. When he’s not in the studio or in the band room he’s either travelling in his van or at the beach – or both.

Mixing Engineer

NEED HELP WITH RECORDING, EDITING OR MIXING YOUR NEXT ALBUM?

MORE POSTS

Share:

Leave a Reply

© 2023 Upaya Sound