fbpx

Drum Tracking In The Studio: Preparation Is The Key! [6 Tips]

Drum Tracking In A Recording Studio

No matter what instrument you play, if you really want to nail your album in the studio, you’ve got to come prepared. And as drums form the foundation of most music genres, drum tracking is probably the most important step of the recording process.

Unfortunately, it is not enough to know your parts to each song – you have to know exactly what you are playing, how you are playing, what to expect in the studio and what everyone else expects of you. There is nothing worse than wasting precious studio time and money because you waltzed into the room without being prepared.

Have I got your attention? Overwhelmed? Well, it’s not that bad. After reading this post you should know exactly what you need to do to get ready for your next drum recording session.

Drum Recording: Before You Get To The Studio

Practice Your Songs

Rehearse each song you will be recording from start to finish again and again. If you mess up particular parts, focus on the tricky bits for a while until you have ironed them out. Get your fills in order. Once you have corrected the parts you messed up, go through the whole song again and make sure you get them right first time, every time.

Practice The Songs Alone And With The Band

Get comfortable playing the songs alone and listen to the nuances of your playing. You might end up recording in less-than-ideal listening conditions and could need to rely on your sense of song structure rather than the other instruments. Make sure you are solid throughout the course of drum tracking.

Make sure your band has enough rehearsals leading up to the drum recording session so that you gel together. Regardless of how you are planning to record, rehearsing often and with focus will help your band improve immensely.

Make sure each other member is also well prepared and on the same page in regards to song structure and dynamics. Make any important decisions as a group BEFORE you get to the recording studio. Recording rough demos and listening, making notes and agreeing on changes together can really help improve a song before you get to the studio.

Change Up Your Drum Kit Position

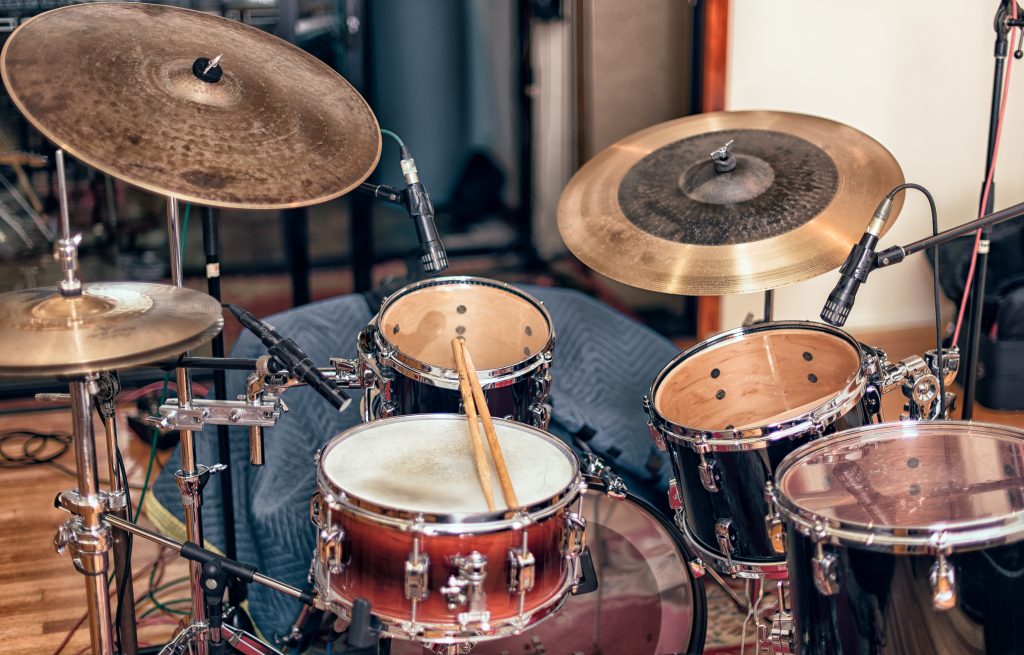
Recording drums in a studio calls for a lot of mics to be placed around your kit. Often you will be asked to adjust the position of certain toms, cymbals or stands so that the engineer can put microphones in the optimal position. Prepare yourself for anything by practicing with your kit rearranged a bit to compensate for this.

Being a little flexible can not only help for drum tracking in the studio but also for those crazy live shows where your stool starts to wobble and your hihat creeps forwards to the edge of the drum riser. Be prepared!

Get Fit For Recording Drums

You’re probably not going to nail that drum performance in one take. You’ll probably be playing it over and over. You want to get yourself fit – fit enough to repeat each song until even the most pedantic member of your band is content.

Start by drumming for an hour with only short breaks in between songs. Then play each song over and over again 4-5 times. That is a realistic number of takes for recording drums. Rehearse the whole album like that at least 3 times a week and get into shape. Then nothing can stop you!

Write Out Drum Charts Or Notation

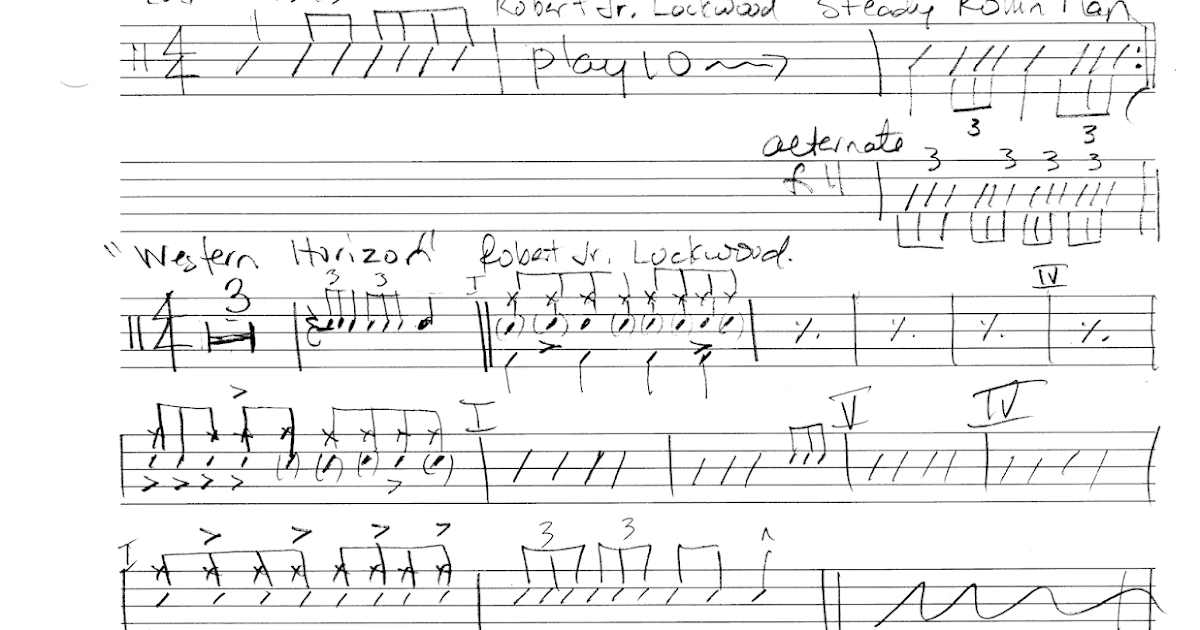
When drummers record music, they often get lost in a song because they tend to play repetitive parts or rely on other instruments for guidance. Some more progressive styles of music have complex or lengthy parts that can trip you up. You want to avoid getting lost while drumming in the studio.

Source: Jazzdrumtranscriptions.blogspot.com

You can really hold your own by writing out each part on a drum chart that you can follow while tracking. Or better yet, write out notation for the entire song. Whatever works best for you to understand what you have to play and when.

Make A List Of Everything You Will Need In The Studio

Headphones, in-ears, sticks, drum key, drum heads, dampening rings, moon-gel, oil/lubricant for squeaky parts – look around your rehearsal space and make a list of everything you might need to take to the studio.  Anything you don’t have, you need to get.

Perfect Your Drum Performance

Rehearsing alone isn’t going to ensure you lay down the best possible drum tracks to tape. Drumming in the studio is more than playing along with your mates. You need to be sure that what you are playing is the best you can produce. You’ve got to check your performance before you start recording.

Record Yourself  Playing

Chances are you are your biggest critic. Record yourself playing your band’s songs and listen back. Ask yourself if it is enough. Does it match up to the artists you are trying to emulate? Would your favourite drummer be happy with the performance? Don’t go overboard, but just ask yourself. Can you do better?

A simple setup like a stereo recorder or your phone is fine. If you have a few mics and an interface set up, don’t worry about fiddling with the sound, just get snare, kick drum and overheads plugged in and get recording.

You want to listen and pick apart each section that you are not nailing 100% and correct it. Find out what hits or fills are tripping you up and practice them until they sit.

Record yourself playing and listen to the recordings while focusing on the following aspects:

Balance Between Each Drum And Cymbal

Are you playing with good groove and steadiness? Or are some hits sticking out? Are you stumbling into some parts that could be smoother?

Are the cymbal hits in good relation to the rest of the kit? Remember cymbals can generally played softer in the studio for a good balanced drum sound. The overhead mics are going to be dialled in for the loudest transients, so practice hitting the drums solidly and the cymbals softer.

Record Videos Of Yourself Playing Drums

To really get a look at how you are performing, record a video of yourself playing and you might be able to see what techniques you need to improve. Picking out any bad habits in posture or movement will be a lot easier to assess on video.

Timing – Record Drums To Click And Assess Your Performance

Are you keeping time, rushing or slowing down? Does your tempo map still fit the song or does it need changes? Can you manage to hide the click every time? If you plan to record to click, you really want to nail it.

Analyse Your Song Structure and Dynamics

Many drummers want to just record tight to click and nail each part to perfection. But what is perfection? Is it playing drums like a metronome? Or have we forgotten something? Feeling? Emotion?

Don’t forget with all that striving for perfection that music is an art form and an expression of creativity. What kind of dynamic does each part of each song call for? Are you allowing for a build up of tension? Are you emphasising the most important parts of the song and putting in nuances in others to create intrigue?

Are you putting your own signature on the song?

Communication With The Recording Studio: What Your Recording Engineer Needs To Know

Not only you need to be prepared, but all those taking part, working with you and for you must be on the same page. The more questions that are answered before the drum recording session, the better you can use the time in the studio for drum tracking.

For each track, send your audio engineer the following:

Will You Be Recording Live Or With Overdubs?

There is much debate about recording live, with click or without, or by overdubbing each instrument piece by piece. There are pros and cons of each method and we’re not going to get into that here. I have a separate blog post on recording to click. Just make sure you have exhausted this debate well before you head into the studio and are prepared for the selected method. Then let your engineer know 😉

The Tempo Of Each Track

Even if you are not recording to click, you should at least know at what tempo you are starting the song at. If recording live, you should get counted in at the right speed. It will also assist the engineer later on for any drum editing tasks.

Tempo Changes / Tempo Map

If you are recording to click and your song requires several changes in tempo or meter, you really should map it out well ahead of time. Create a tempo map and practice with it as a group and by yourself. Once you have it finalised, send it to the recording engineer. He will probably need to create his/her own version in his/her DAW to fit in with the studio workflow.

Create A Guide Track

There are a few types of guide tracks you can use to orientate yourself in a song. Either you record each (or each important) instrument as a demo version to play along to or you use a set of audio cues along with your click track. You could even have both if that gives you the most security while playing.

For an instrument guide track you will need:

  • A recording of each instrument, recorded to click (e.g. Guitar, Bass, Keys, Vocals)
  • Click Track (with any tempo changes)
  • Any audio markers, count-ins or cues about upcoming parts

Make sure you send it to the recording engineer beforehand so he/she can load it into the session ahead of time.

If you need help with any aspect of the guide track, your recording engineer will be no doubt more than happy to help.

Practice With The Guide Track

Once you have the guide or click track mapped out with all markers and cues, take time to get really comfortable practicing with it so you are ready to go when it comes time to hit record in the studio. Put yourself under a little pressure to simulate the recording experience and you will be much better prepared for your drum tracking session.

Decide On, And Communicate Your Ideal Drum Sound To The Engineer

What kind of drum sound do you want on your record? Do you want a bombastic, larger than life sound with lots of room reflections? Or a tight and controlled kit with little sustain? Do you want the snare and toms to ring out, with a lot of punch and oomph, or would you rather a snappy kind of sound where the snare cracks and the kick drum smacks?

There are so many ways a drum kit can sound and it depends on a myriad of combinations between the instrument itself, the recording techniques, the microphones, the room AND the mixing stage. Getting your ideal drum sound communicated to the sound engineer before you hit the studio will bring you a lot closer to the desired result from the very first drum recording session.

Name 2-3 Bands That Inspire Your Drum Sound

The best way would be to name 2 or 3 bands, albums or songs that feature the drum sound you envision for your record. I find it also helps to describe any combinations of sounds that might come to mind. Get descriptive, it will only help your engineer understand what you want better and faster. Being on the same page sonically from the beginning of a project will save you a lot of hassle later on.

We’d like the drums to sound like Queens Of The Stone Age – Songs For The Deaf meets Chelsea Wolfe – Hiss Spun, please!

–OR–

The drums should be dry and direct like Bloc Party’s Silent Alarm, but with less of a lo-fi feel and more presence like Radiohead’s In Rainbows.

Find Out What Gear You Need At The Studio

What gear is available at the studio? Do they have a really good kit that you can and should use? Or are you satisfied with your own as it is part of your own sound?

Is your kit ideal for recording?

If you will use your own kit, does the studio have any parts that could complement your kit? Do they have a set of really nice studio cymbals that yours are no match for?

Do you need to bring parts of your kit like foot pedal, snare and stool?

Are there enough cymbal stands?

Don’t leave it up to another member of your band to answer all these questions. Make sure you know exactly what you need to bring and which parts of which drum kit you will be playing.

When using your own drum kit, you must:

Replace Your Drum Heads

Unless they are less than 4 weeks old and in good condition, you will definitely need to replace those drum heads. The difference between old and used batter heads and fresh ones will make or break your drum recording. With new drum heads you can make an average kit sound amazing in comparison and vice versa. A decent kit with old heads will sound like crap.

Tune The Drum Heads And Play Them In

Get out your drum key and tune the heads. If you don’t know how, now is the time to learn. Get your teacher, a friend or YouTube to teach you. Anyone can learn. Just try out one of the several methods for yourself and practice until you have got it down. You will get to know your instrument so much better once you do.

Play in the new drum heads for a few days prior to your studio session. They will tend to go out of tune less and less after a couple of days and you won’t need to adjust them much on the big day. Get them set in your preferred tuning and get into the zone with them.

Experiment With Different Drum Tunings

Experiment with different tunings and pitches until you find something that fits your taste and style. If you are really struggling, you can invite someone you trust with the job to come to the first day of recording and do it for you. But chances are the studio engineer will be more than willing to give you a hand.

At The Recording Studio

Once you’re at the studio, it can take quite a while between loading in and finally hitting record to track those drum parts. Despite the fact that you are paying for this time, make sure you are conscious of what is going on around you and that you help out where needed and make space when asked to. Setting up for a recording session takes a lot of time and focus, so be sure to contribute to a good working environment both for your band and the recording engineer.

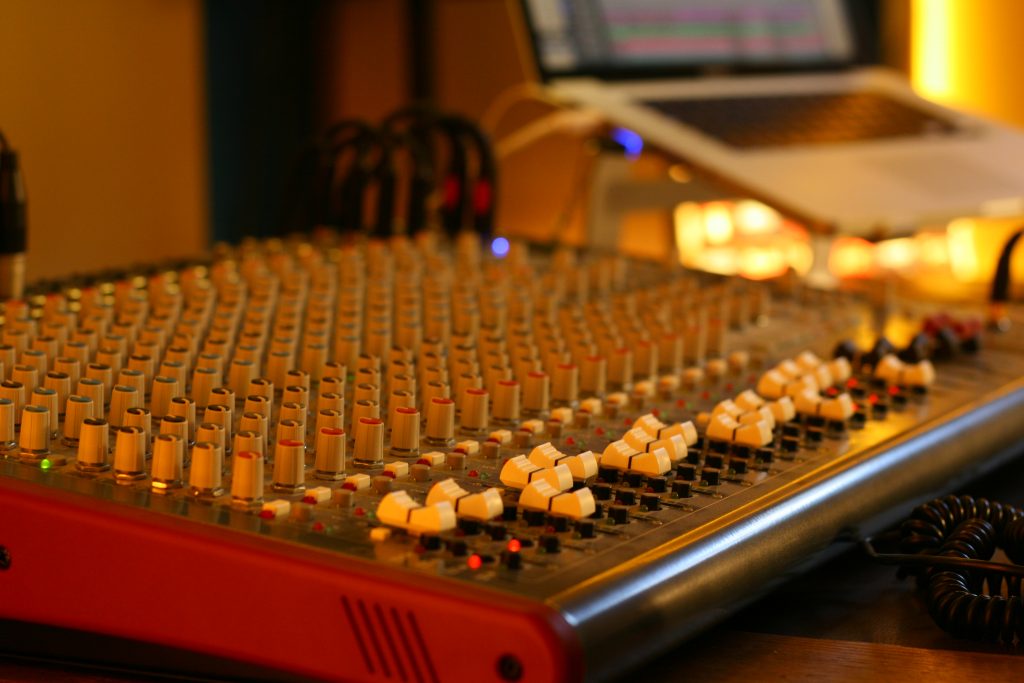
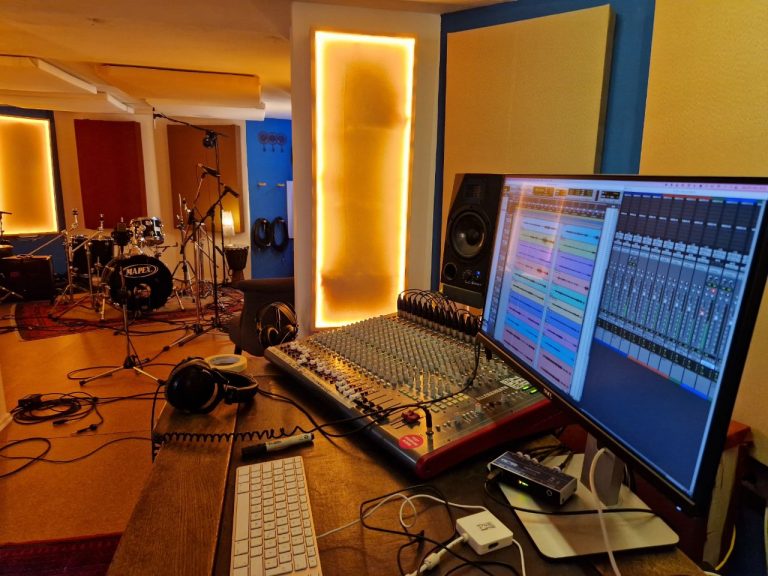
Online Mixing Desk Allen & Heath ZED R16

Set Up Your Drums For Recording ASAP

As soon as possible, set up your drum kit in the space you will be recording in. Speak with the engineer beforehand about the exact location in the room, or work together. It may be that a particular spot in front of a window to the control room or on a drum riser might be the preferred space.

Set yourself up as you would at home or in your band room. But don’t get too comfortable! As mentioned above, you might find you need to rearrange your kit a little to accommodate for microphones. Good thing you practiced for this, huh?

Have a play of your kit and make sure everything is sounding as you would like it to. Adjust the tuning of the drums again if necessary and check for any squeaking in the kick pedal or hihat mechanisms. Talk to your recording engineer about the sound of the snare and toms. This is the time to mention any preferences about sustain, dampening or ringing of the drums.

Microphones, Gain, EQ and Soundcheck

Now that you’re comfortable, your audio engineer will set up the microphones around the kit and dial them in. This is a process that can take up to 2 or 3 hours, depending on any issues that arise during soundcheck. Be patient, the more care you take in this part of the recording stage, the better your drums will sound on tape later on.

Recording Drums Studio

Depending on the microphone techniques and the style of drum recording you are after, there might be a lot of tweaking of each mic position. The recording engineer will often go back and forwards between the control room and the recording space asking you to repeat single hits and play different passages until he or she is happy with the sound.

Be open to any suggestions about swapping different pieces of equipment. The studio may have a snare or cymbals that fit the style you are aiming for better than your own gear. Your engineer might suggest something that may not work out. Stay flexible and maintain good trust and communication, then you will get to the best possible result quickly and smoothly.

They might end up adding a few mics well into the soundcheck to capture nuances to complement the other tracks. Just be patient and work together until you a both satisfied with the results. Go into the control room after recording a few passages and make sure you are happy with the sound as well. This is the time to say anything if there is something not quite right!

Warm Up For Drum Recording

If you haven’t done so by now, make sure you are warmed up and ready to go. Do any stretching exercises to get your limbs loosened and your juices flowing. Play through some sections of your songs starting with a moderate intensity and build up to the most difficult parts. Make sure when you finally hit record that you are in the zone and ready to perform.

Ask for the click to be sent through your headphones and get into the groove of the first song. Once you have the click mastered, ask for the rest of the guide track or any other instruments that are going to be playing along with you and make sure the levels are ideal. You want to be comfortable with your monitoring before you put all that effort into your performance once you hit record.

With everything set up and ready to go, take 5 minutes outside, have drink and centre yourself. You will be recording drums for the next 2-3 hours, probably with very few breaks in between. In the rush to set everything up you can lose yourself in the stress of things so take a moment to focus on the task at hand – recording killer drum tracks for the songs you have honed with the rest of your band.

Tracking Drums

Now you’re ready to get down to business. Once the tape is rolling you can focus solely on the performance. Concentrate on timing, groove and dynamics and don’t forget to enjoy yourself. This is the moment you have been building up to for months and months. Any stress or discomfort will translate onto the recording so try to find the groove between focus and drive, relaxation and determination. You are trying to produce the perfect take, but a performance with dynamic and style will beat a flat, metronomic drum recording any day.

Start tracking drums with a simple song first, one that you are most comfortable with. You will naturally build up confidence the more you record and by nailing the easy songs first you will get into the zone. If you have 10 or 12 tracks in total, end each recording day on one of the trickiest. Start each new day with a relatively simple one and work your way up to the challenging parts.

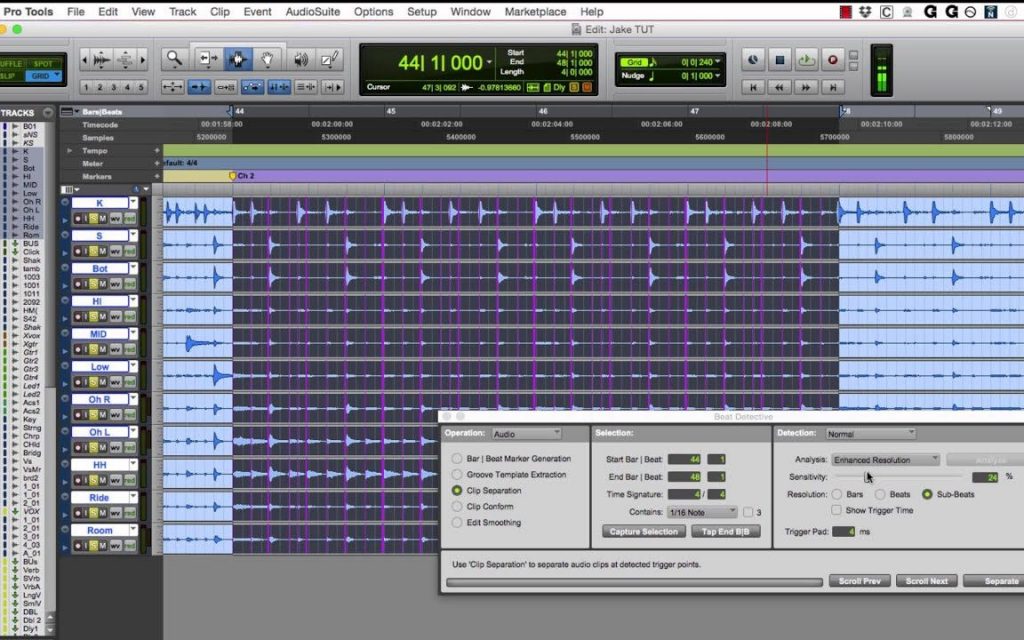
Drum Editing

If at any point you feel uncomfortable with the monitoring or the position of part of your drum kit that keeps you from delivering your best performance, let the engineer know. If you have to struggle to play your parts, chances are you will hear it upon playback.

Once you do feel comfortable, make sure not to move any drums or microphones between takes. Even the slightest displacement can cause a dramatic difference in sound and it will make splicing different sections of different takes very difficult. For the same reason, don’t change the tuning of a drum once you start tracking a particular song. If you are unsure about touching anything, just ask your recording engineer.

Signing Off

That is pretty much everything there is to know about preparation for recording drums in the studio. I hope you were able to find some tips that will help you towards a smooth and productive drum recording session. It may seem like a lot, but the better prepared you are, the better you can perform on the day. Go into the drum tracking session with a focused but relaxed attitude and you will produce great results that will translate to a great record for your band.

About The Author

Nick Braren is an audio engineer and musician with over 15 years experience in the studio, on stage, back stage and front of house. He is the owner and operator of Upaya Sound, guitarist and vocalist of Vandemonian, father of 2 and husband of 1. When he’s not in the studio or in the band room he’s either travelling in his van or at the beach – or both.

Mixing Engineer

NEED HELP WITH RECORDING, EDITING OR MIXING YOUR NEXT ALBUM?

MORE POSTS

Share:

Leave a Reply

© 2023 Upaya Sound