fbpx

How To Build DIY Acoustic Panels For Your Band Room Or Home Studio

diy acoustic panels absorber

Build Your Own DIY acoustic panels without breaking the bank.

In this post I will guide you through the process of making your own DIY acoustic panels for the acoustic treatment of your band room or home studio. I have listed all materials and tools you will need, as well as the exact methods I used to treat my room without buying any studio foam or expensive sound panels.

Walking On Eggshells …and Pyramid Tiles

We’ve all seen the pictures. Most of us have actually been in one of those band rooms lined with various sorts of pyramid-shaped tiles. A few of us musicians might have even saved months and months worth of poultry packaging and stapled it all to the wall only  to realise: it looks ridiculous and sounds… as if it weren’t there.

Don’t be that guy…

Acoustic treatment seems a very complex topic for the uninitiated and I concur, there are many products out there that promise so much and are priced so high. But fear not, fellow muso, after reading this article you will be so much wiser. I will show you that with a little time and effort, you can tame those band room acoustics and turn your full concentration to your next album.

Acoustic Panels Are Expensive – But They Don’t Need To Be!

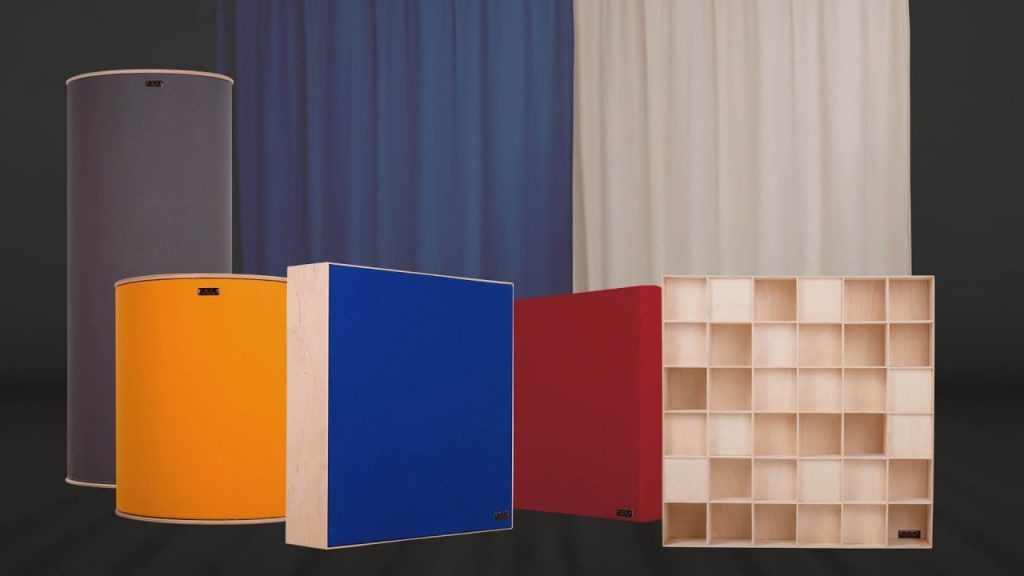
Acoustic panels are no doubt expensive when bought from a professional manufacturer. Hofa and co seem to charge exorbitant prices for their sound treatment products. They definitely aren’t catering for the market of regular musicians looking to soundproof their band room.

Source: hofa.de

What are the alternatives? A search on Thomann throws up many results. But beware, those pyramid tiles you naturally associate with sound treatment sadly do not achieve the desired results. They simply lack the mass and density to tame unwanted frequencies. The squishy foam isn’t enough to dampen the energy of those mid and high-mid reflections bouncing of the walls. While this may not be the case for all products, I definitely recommend staying away from the cheap foam tiles. Your money is far better put to use making your own out of readily available hardware store materials.

So let’s get stuck in. What do we need to make our own DIY acoustic panels?

Materials and Tools For DIY Sound Treatment Panels

Required Material

  • Insulation Batts
  • Wooden Framing
  • Screws
  • Garden Fleece
  • Acoustic Fabric
  • Staples
  • Steel Hooks and Eyes / Picture Frame Hangers

Required Tools

  • Cordless Drill
  • Stapler
  • Scissors
  • Folding Ruler

Choosing The Right Frame Depth

Prior to building you should consider the desired thickness of the DIY acoustic panels. Anything under 4 cm isn’t going to do much to tame a broad range of frequencies. I would suggest 8 – 10 cm which will reduce the hard drum reflections, cymbal clash and high-mid guitar sounds in your band room.

If you are looking to tame the lower mids as well, you might want to stretch to 12 cm. For a very boomy room with low frequency room modes, you might want to build some DIY bass traps instead.

After you have decided on the acoustic panel thickness, make sure to check out which kind of insulation material you will be using. There are many options available, from mineral wool to hemp, to wood shaving batts. The cheapest option is mineral wool, but it is a slight health and safety concern over the other materials and isn’t very environmentally friendly. Any kind of insulation used for sound treatment in drywalls will do, as long as it has good energy and warmth efficiency.

Once you have chosen the material, make sure to note the dimensions of the batts. This will ideally be the size of your DIY acoustic panels, as it is so much easier to build the frame to size and then slot the batts in than cutting each one with a special saw.

DIY Acoustic Panel Construction

Building the Sound Panel Frame

First we need a wooden frame. I would suggest using plywood, which is several layers of wood pressed and glued together. It is easy to cut and screw and won’t crack as easily as solid wood. 20 mm thickness is fine. We just need enough stability to screw the pieces together and to hold the acoustic material inside.

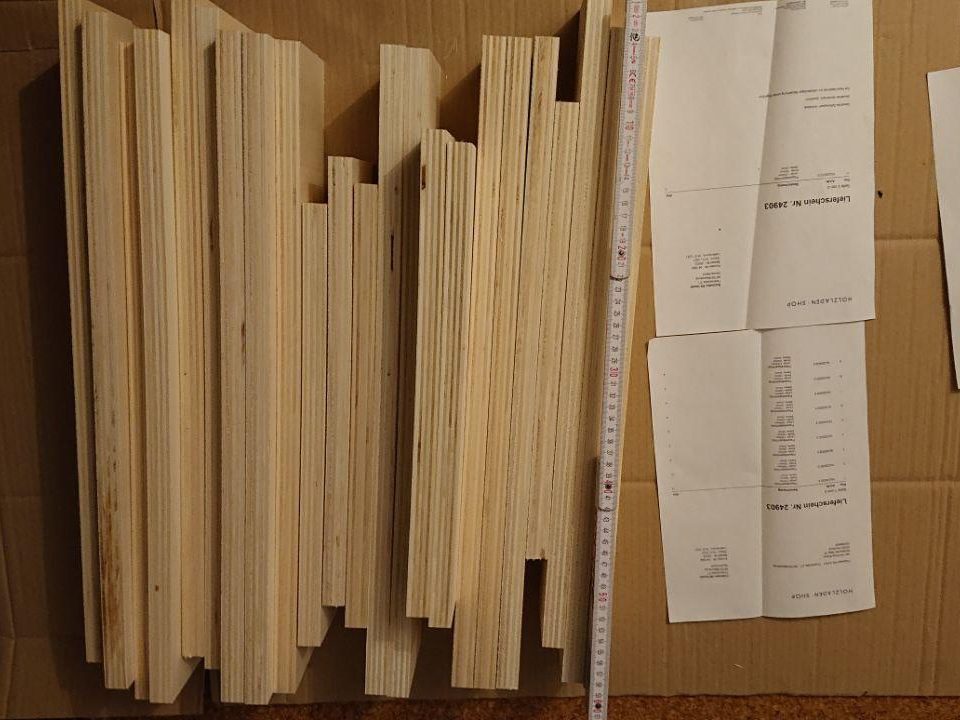
My insulation batts were 575 x 1220 so I added 20 mm to the length twice to get the final length of the frame = 1260 mm.

You can get multiplex from your local hardware store. Take the measurements of your DIY acoustic panels with you and ask them to cut it to size. This will save you a lot of time and sawdust later.

You can even order plywood custom made to your acoustic panel dimensions online. This is the route I took for my studio and although it was a tad more expensive it saved me a drive to the store and lots of time and energy sawing each piece to size.

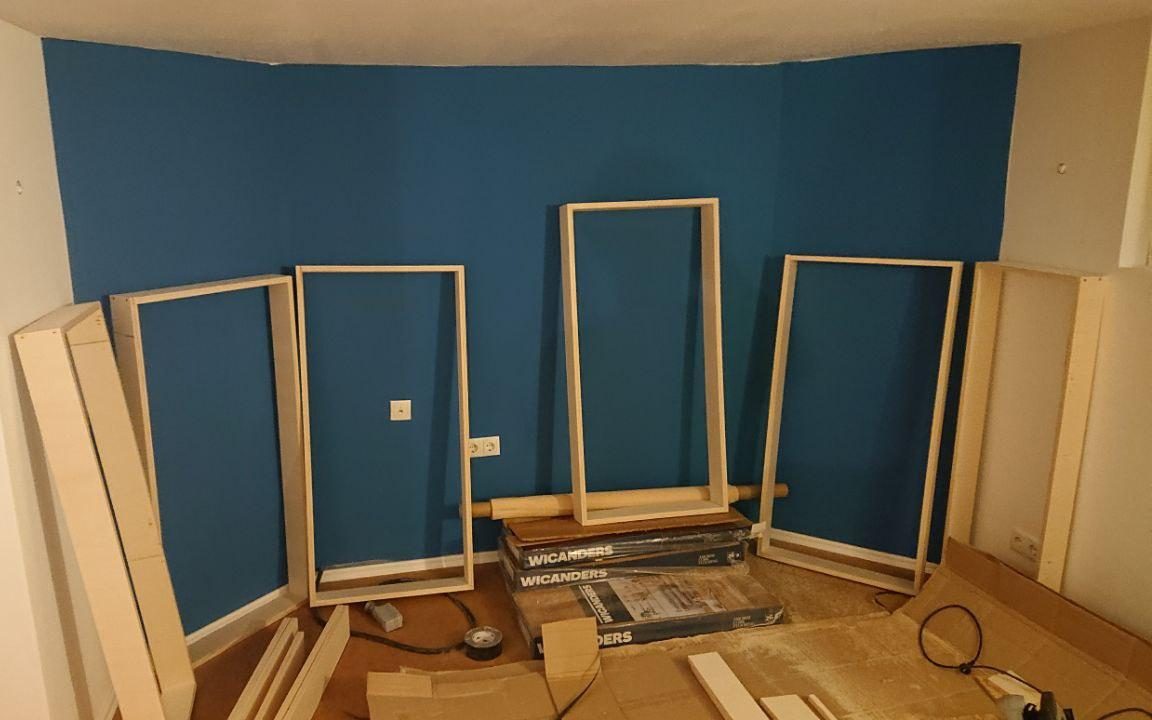
Once you have your multiplex cut in the right dimensions it is time to put it all together. Align two pieces of frame to make a corner and pre-drill two holes for the screws. You don’t want the wood splitting when you screw so close to the edge. Once drilled, screw the frame corner together and move on to the next. Once you have one frame done, assemble the others and move on to the next step.

Garden Fleece For The Rear Of The Acoustic Panels

Cut the garden fleece to size by laying a frame down on top of it on the floor and cutting around the edges. Leave enough overlap so you can still grab it and staple the edges to the frame. You can always cut off excess mesh later.

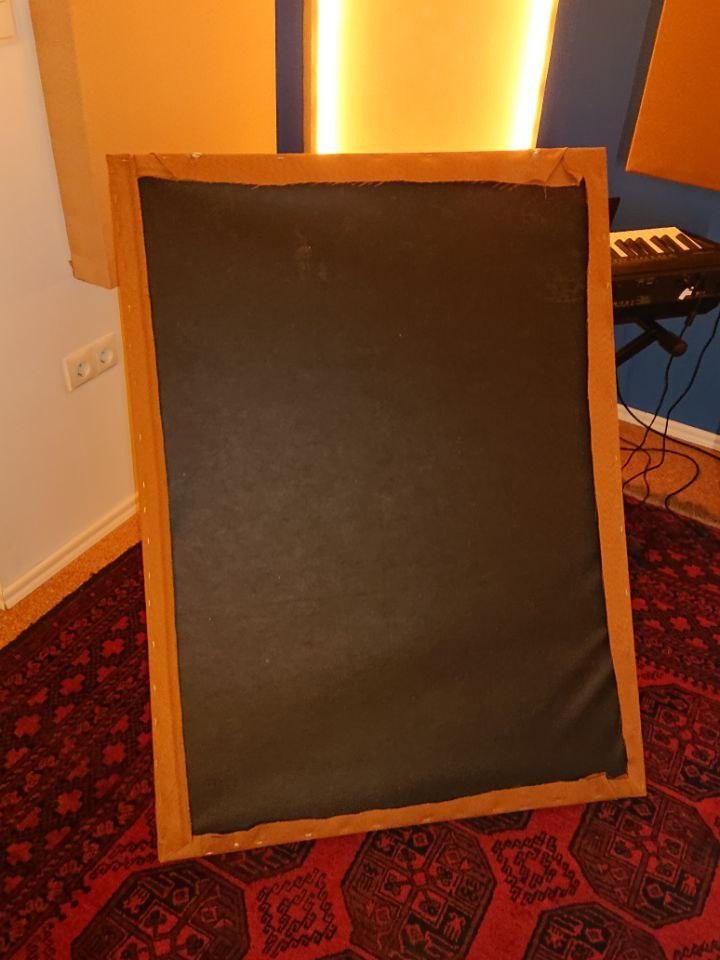
Attach the mesh to the frame around all edges by pulling it firmly (but not too tight!) and stapling close to where you hold it in place. This forms back of the acoustic panel ensuring the insulation batts stay in place. It should be taut but make sure you don’t warp the frame. Once stapled, you can slot in the insulation batt.

Acoustic Panel Fabric

I did a lot of research on the right fabric to use before making my own DIY acoustic panels. I wasn’t that concerned with the acoustics, as any fabric will let almost all frequencies through and into the insulation batts behind. It was more an aesthetics thing. It turned out most fabrics I found on websites catering for fashion were more expensive than the acoustic fabric I found at a specialised online shop.

Generally, the fabric should be breathable, but not too porous, especially when using mineral wool for the insulation. Those microfibres can cause cancer if breathed in over a long period of time!

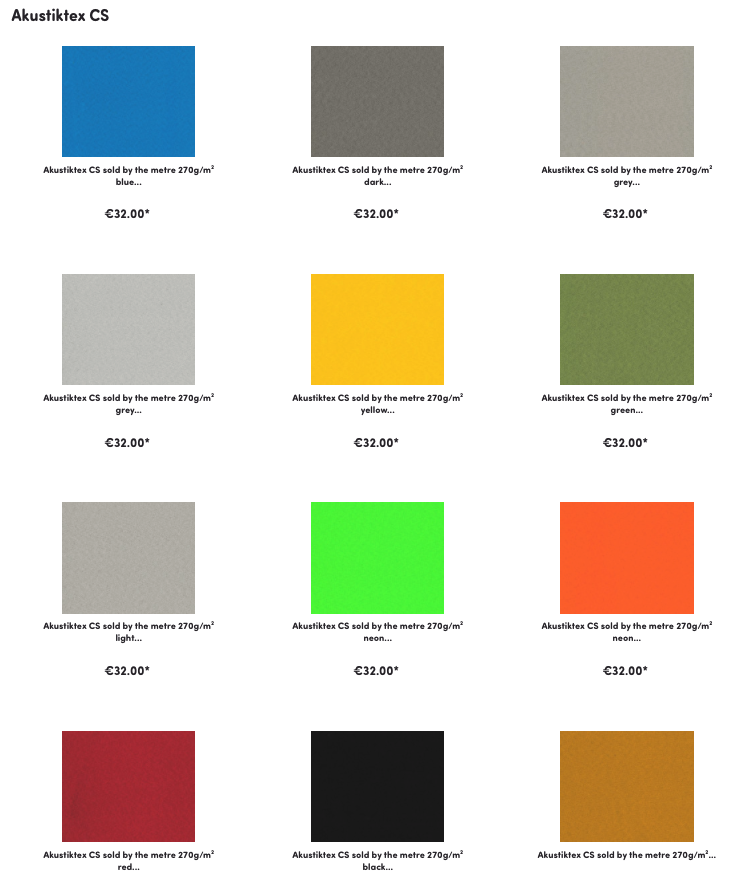
I went with Akustiktex CS, a fabric with a slightly textured surface and a little, but not too much stretch. You can get it online from Molton24.de in Germany. They have several colours, some bright and daring, some more subtle. I went with the more subtle option…

Order Akustiktex CS acoustic fabric online at Molton24.de

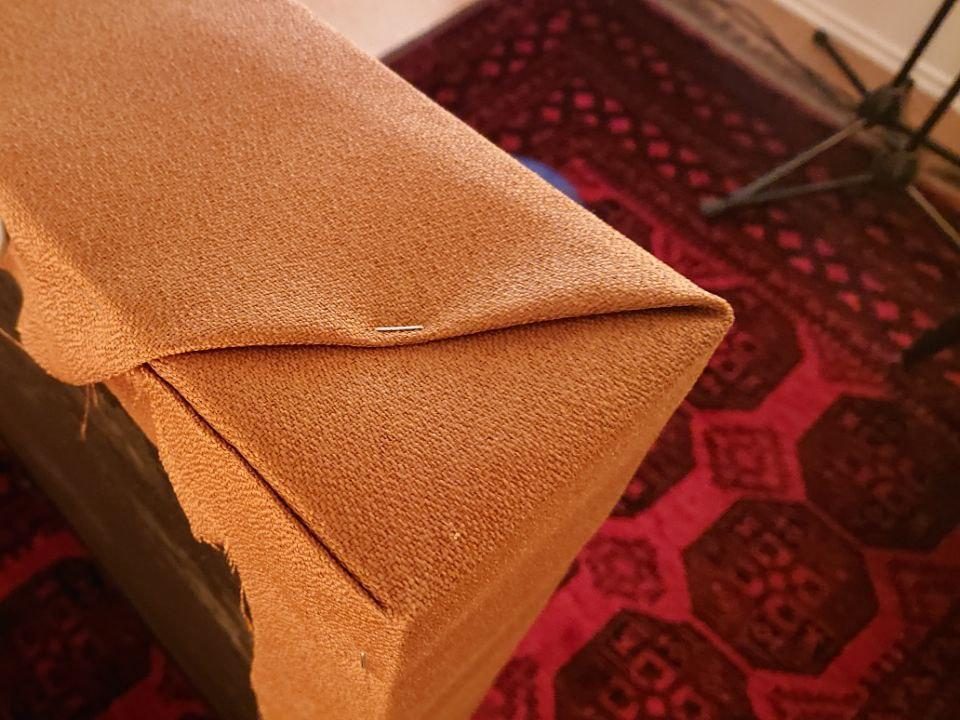
Lay out the acoustic fabric on the floor and cut it to size. Make sure you leave a little more around the edges this time. We want to be able to fold and staple the overlap neatly at each corner. Lay down the frame with the insulation batt inserted on the acoustic fabric and fix each side of the material by pulling it taut and stapling.

Once the sides are stapled, tuck in each corner of the fabric like you are wrapping a birthday present. Fold it neatly and staple while pulling it tight. If you do this right you will feel a sense of achievement and contentment! Give yourself a pat on the back for your neatness!

Hang on! What do I hang it on?

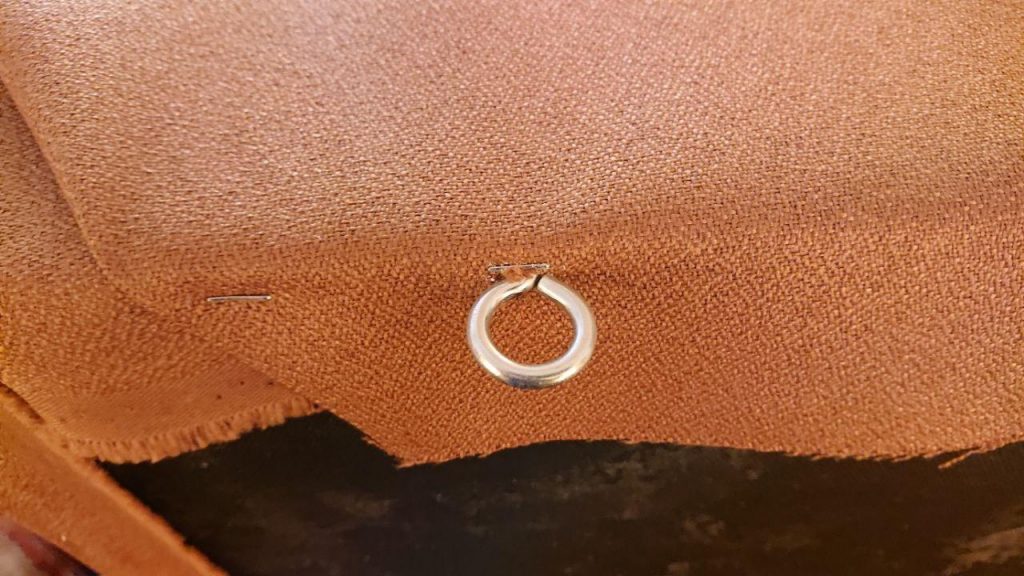
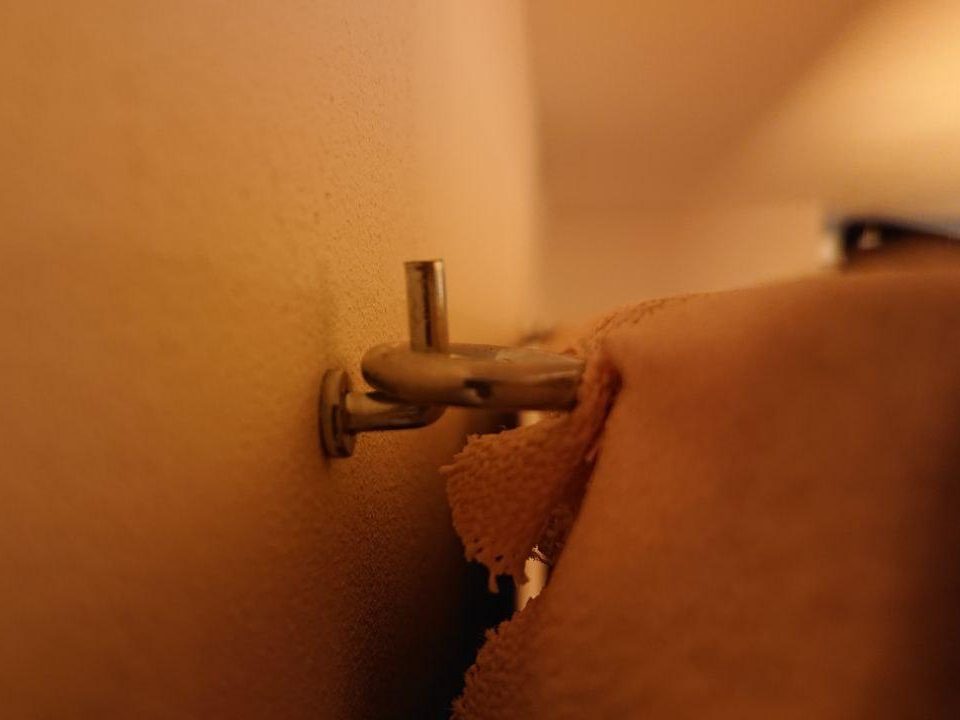
The only thing your DIY acoustic panel needs now are a couple of hooks to hang it on the wall. I would suggest using the round eyes hung on hooks. This method gives you extra absorption by adding distance between the wall and the acoustic panel so that the sound passes through again after reflecting off the wall. The air gap acts as an extra buffer.

Before screwing the eyes or picture hangers, make sure you pre drill the holes again on the sides of the frame. Then, using a spirit level and a tape measure, mark the wall at the right places and screw in the hooks. Hang up the acoustic panels and voila, you’re done!

Light Up Your Band Room With Self-Illuminated DIY Acoustic Panels

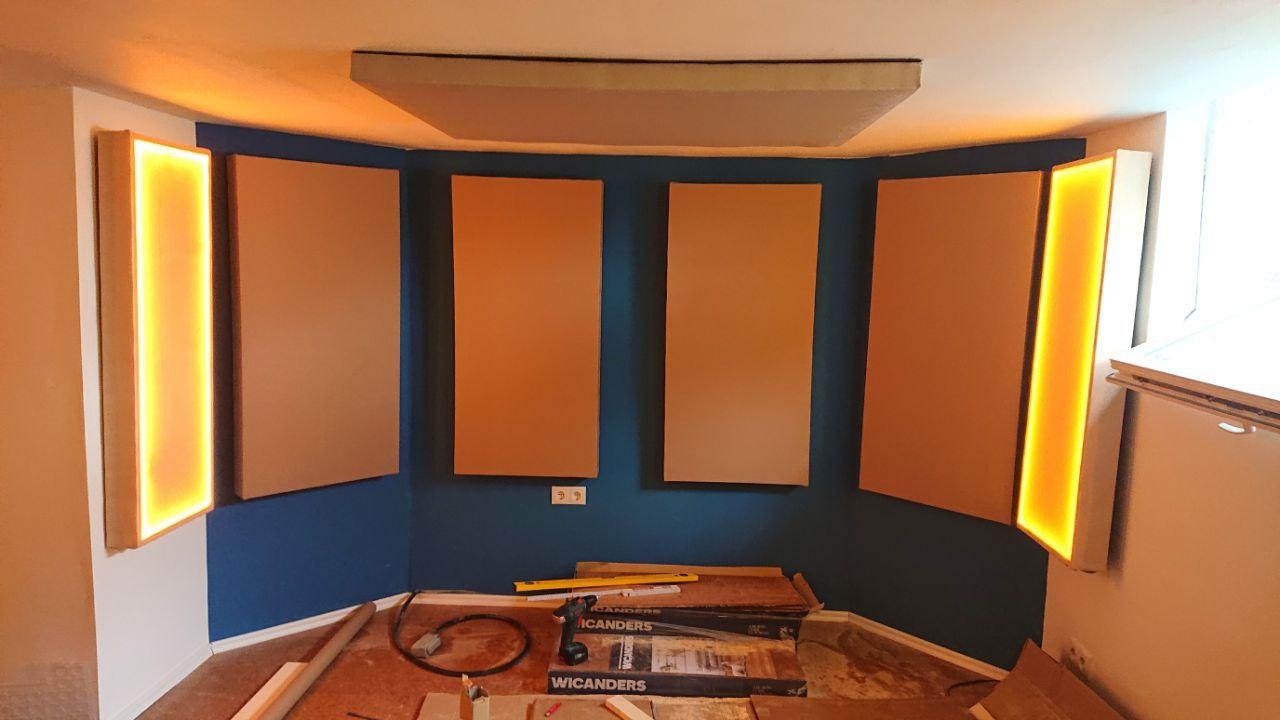
If you’re feeling adventurous or have a bit of experience with LEDs and electronics, you can turn your sound treatment panels into lighting elements as well. Plan an extra 2-3 cm depth for your frame and line the sides in front of the insulation batts with warm-white LED strips. Screw the power supply to the underside of the frame and feed the cable through a pre-drilled hole into the inside of the frame.

Then, once you have checked that the LEDs are working, cover the acoustic panel frame with a light-coloured translucent fabric that the LEDs can shine through. Now you not only have sound treatment taming those harsh frequencies, but your band room has a new ambience that will get your vibe on and your creative juices flowing!

Recording Studio Control Room

A Touch Of Class With A Wooden-Framed Acoustic Panel

Something I plan on doing but haven’t got around to yet is decking out each absorber with an exterior frame of wood for a touch of elegance. A nice oiled oak frame would really lift the absorber from a functional piece to a work of art. This combined with the LEDs inside would be the icing on the cake!

About The Author

Nick Braren is an audio engineer and musician with over 15 years experience in the studio, on stage, back stage and front of house. He is the owner and operator of Upaya Sound, guitarist and vocalist of Vandemonian, father of 2 and husband of 1. When he’s not in the studio or in the band room he’s either travelling in his van or at the beach – or both.

Mixing Engineer

NEED HELP WITH RECORDING, EDITING OR MIXING YOUR NEXT ALBUM?

MORE POSTS

Share:

There are 2 comments on How To Build DIY Acoustic Panels For Your Band Room Or Home Studio

  • Hi Nick,

    thank you!

    May I ask how you built the ceiling absorber? I am especially interested in how you were able to mount it so close to the ceiling. I find that looks fantastic! 🙂

    Thanks,
    Michel

    • Hey Michel,
      I just screwed four brackets to the ceiling at the right distance and then fixed the absorber from the sides with screws.
      In the recording room I used melamine panels, thin MDF and magnets. Melamine and MDF wrapped in the absorber material and stapled. Four magnets screwed to the ceiling and four screwed to the panels. The magnets were a bit more expensive but I can take the panels down quickly at any time.
      Cheers!
      Nick

Leave a Reply

© 2023 Upaya Sound