fbpx

How To Record Warm, Smooth Vocals At Home in 8 Steps

The following article on how to record vocals at home is an excerpt from my new book COMPLETE CREATIVE CONTROL – The Art Of Recording Music Unveiled.

Recording vocals should be a fairly simple undertaking, as we are only using one mic, with one sound source – what can possibly go wrong? The problems arise mostly on the performance side, and as a producer, I see it as my job to provide the setting for the best vocal performance possible.

If a singer can’t hear herself, she’s going to strain herself trying to force too much volume. If a vocalist hears too much of his voice in the headphones, he might hold back where he should otherwise give it all he’s got. At the same time slight delay or echo due to computer processing will be enough to make the vocals sound unnatural, and the singer won’t feel as comfortable as she should to be able to deliver a great performance.

RECORDING WARM, CREAMY VOCALS

In an ideal world, we would record vocals standing in our bedroom or living room with the familiar sound of the walls reflecting our voice back to us. We sing and interact with the acoustics of the room. But we don’t want those reflections on our record – they will ruin the sound.

So when we record vocals, there are a few steps to take to ensure the best possible performance is captured.

HOW TO RECORD VOCALS – WITH THE RIGHT MIC AT THE RIGHT HEIGHT

Set up the mic at mouth height

Whatever height your singer is, the mic should be up in front of their mouth about 10-15 cm away. Too close and you will produce an unnaturally bassy sound due to the proximity effect, too far away and the voice will sound too thin. Make them feel comfortable and adjust the position of the mic until they give you the all-clear.

Record Vocals With A Cardioid Condenser or Dynamic Mic

For most genres, use a large diaphragm condenser. Pop, jazz, folk and any other genres with vocals of a high dynamic range (quiet and loud) will require a mic that gives a lot of detail and presence. For styles of music with a harsher vocal sound like metal, hardcore or hard rock, try a few dynamic mics like the Shure SM7B or an RE20. Anthony Kiedis recorded most of his vocals using an SM58 so it’s very much up to you – the recording engineer!

how to record vocals

Finding the right mic also depends very much on the voice as well as the music. So use your ears and make an informed choice after comparing three, five or more vocal mics if you can!

Connect an XLR cable to the mic and the other end to the interface. If using a condenser mic you will need to engage the 48V phantom power switch.

HOW TO RECORD VOCALS – WATCH FOR THE PROXIMITY EFFECT

Use a pop-filter to eliminate the bass pops produced by plosives

The proximity effect comes into play due to the characteristics of a cardioid microphone amplifying the bass frequencies in a sound source. If you get up close to a mic and sing words with plosive B and P sounds, this will produce a big boom and probably overload your input channel. Putting a pop filter in between your singer and the mic at about 5 cm away will scatter the airwaves and reduce the effect considerably.

Most mics have a metal mesh grill fitted at the front side – but they don’t reduce plosives much and you will need a separate pop filter!

HOW TO RECORD VOCALS – WITH GOOD ACOUSTICS

Surround the mic with bedspreads to deaden the room acoustics

Before you start building a vocal booth in your band room (or bedroom!) a simple way to get similar acoustic results for tracking solo vocals is to use heavy, dense material in front and behind the mic. A bedspread, mattress, curtain or blanket will absorb the sound waves that would otherwise bounce off the walls and reflect back into the mic. Surround the back and sides of the mic and hang another blanket behind you. Taming the room reflections will give you a nice dry vocal signal that will give you complete control over to then add effects to later on at the mixing stage.

how to record vocals vocal booth

HOW TO RECORD VOCALS – WITH CORRECT GAIN SETTINGS

Dial in enough, but not too much gain

Now you’ve got your mic and acoustics set up, all cables are connected and you are getting a signal, double check your gain settings. Vocals are very dynamic, so we want enough gain for the quiet passages but not too much to overload the converters when the chorus kicks in. Have the singer sing the loudest passage of the song and make sure you have enough headroom. You should be looking to aim at a maximum of -9 dB on your digital input.

If the song calls for extremely quiet and loud passages, you might want to record them separately and adjust the gain before moving to the next section. I find it is so much easier to record all the verses first before coming back for the louder chorus sections later on. Switching the gain settings back and forth is a pain and will interrupt your singer while they are in the flow state.

HOW TO RECORD VOCALS – WITH A GOOD HEADPHONE LEVEL

Make sure the headphone level is loud enough

Now you’ve got your input level set up, it’s time to feed the singer’s headphones. I find the louder I hear my own voice, the better I sing, but don’t overdo it. Too much level will cause your singer to hold back because it gets uncomfortably loud when they raise their voice’s volume. They should hear their voice at a natural volume and not have to strain to produce their best performance.

HOW TO RECORD VOCALS – SETUP YOUR DAW PROPERLY

Check your DAW settings – 32 to 64 samples max!

One way you could slip up when recording vocals is by setting your DAW to the wrong processing speed. A higher setting gives the computer enough time to process effects, compression and other plugins. It won’t playback your audio in absolute real time, but after 1024 samples or whatever you set it at. 1024 samples is equal to a delay of 23 milliseconds (at 44,1 kHz) which is definitely audible.

A lower setting is preferred for recording because the perfor- mance is being captured and monitored at the same time. The singer needs to hear the music and themselves at exactly the time they sing into the microphone. Setting your processing to 32 or 64 samples will ensure everything is in sync. Technically there is a delay, but you won’t hear it.

Your interface may also give you the option to directly monitor the input signal so make sure this is enabled so the vocalist hears the direct analogue signal from the mic.

HOW TO RECORD VOCALS – NATURAL AMBIENCE

Add a small amount of delay and reverb to emulate a natural room sound

Now that we’ve eliminate delay, it’s time to add some! As I mentioned above, the most important thing about capturing the perfect vocal performance is to make the singer feel comfortable when they hear their own voice. We can reproduce the way we naturally hear our voice bouncing off the walls by adding delay and reverb. This is not the same as the processing delay from above, here we are adding the effect alongside the dry vocal sound to improve the listening experience…


Follow the full vocal recording process by purchasing COMPLETE CREATIVE CONTROL here, or download a FREE 5-chapter sample.

TAKE CONTROL OF THE TRAJECTORY OF YOUR MUSIC

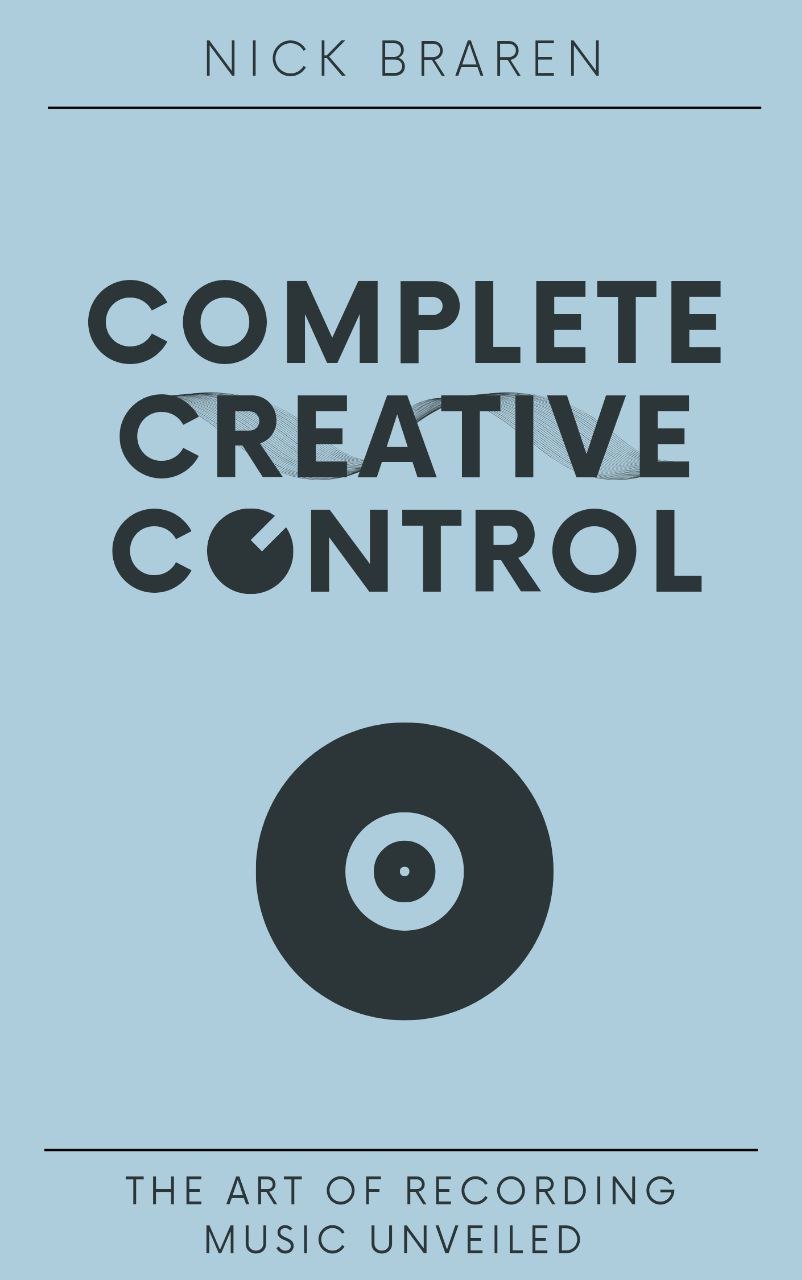
I have a brand new recording handbook available that will teach you EVERYTHING you need to know about how to record your own music professionally with inexpensive microphones and gear.

I want to get you in the position where you can remove the recording obstacles and release the flow of music out into the world.

I want you to take control of your music’s trajectory by acquiring the skills and knowledge needed to record music yourself on demand.

If you’re really serious about your music and want to overcome the massive recording hurdle plaguing the majority of artists today, download a FREE 5-CHAPTER SAMPLE now and take the first step towards transforming yourself from a hobby musician into an affluent recording artist!

Equipment Needed to Record Vocals

Before diving into the recording process, it’s essential to have the right equipment on hand. Here’s a list of the key items you’ll need to capture exceptional vocal performances:

  1. Microphone: A high-quality microphone is the heart of any vocal recording setup. Consider investing in a condenser microphone for studio-quality recordings. Popular choices include the Audio-Technica AT2020, Shure SM7B, and Aston Spirit.
  2. Microphone Stand: To ensure stability and proper microphone placement, a sturdy microphone stand is essential. Boom stands are versatile and allow for adjustable positioning.
  3. Pop Filter: A pop filter is a screen that helps reduce plosive sounds (like “p” and “b” sounds) that can cause unwanted noise in your recordings. It’s placed in front of the microphone to soften these harsh sounds.
  4. Shock Mount: A shock mount suspends the microphone to isolate it from vibrations and handling noise. This accessory can significantly improve the quality of your recordings.
  5. XLR Cables: You’ll need XLR cables to connect your microphone to the audio interface. High-quality cables ensure a reliable connection and minimize interference.
  6. Audio Interface: An audio interface converts the analog signal from your microphone into a digital signal that your computer can process. Focusrite Scarlett, PreSonus AudioBox, and Universal Audio Apollo are popular choices among professionals.
  7. Headphones: Closed-back headphones are best for recording as they provide isolation from external noise and prevent sound leakage. Brands like Sony, Audio-Technica, and Beyerdynamic offer excellent options.
  8. Acoustic Treatment: To improve the acoustics of your recording space, consider investing in acoustic treatment, such as foam panels, bass traps, and diffusers. These help reduce unwanted reflections and echo.
  9. Computer and DAW: You’ll need a computer with recording software, known as a Digital Audio Workstation (DAW). Popular DAWs include Pro Tools, Logic Pro, Ableton Live, and Reaper.
  10. Pop Shield: While pop filters help with plosive sounds, a pop shield can provide an extra layer of protection and further improve recording quality.
  11. Mic Preamp (Optional): Some audio interfaces come with built-in preamps, but if you want to enhance your microphone’s performance further, you can invest in an external mic preamp.

Share:

Leave a Reply

© 2023 Upaya Sound